
ーArticle Levelー
- Beginner
- Importance
- Difficulty
Hey everyone, are you enjoying WordPress?
You want to add a contact form to your WordPress site but are worried because you don’t have programming knowledge…
WPForms is a handy plugin that allows you to create contact forms easily on WordPress.
This guide thoroughly explains everything from the basics of WPForms to practical techniques for creating forms. Even beginners can create forms easily, so be sure to check it out.
 ryo
ryoHello! I’m ryo.
 助手君
助手君I’m your assistant!
Related Sites:”Boost SEO with WPCode Lite: A Practical Guide!“

What is WPForms?

WPForms is a contact form plugin specifically designed for WordPress.
Even without programming knowledge, you can create forms easily with its intuitive drag-and-drop interface, making it beginner-friendly.
It allows you to create various types of forms such as contact forms, booking forms, survey forms, and payment forms.
WPForms offers both a free and a paid version. The free version is sufficient for creating simple contact forms, but if you want to use more advanced features, the paid version is recommended.
The paid version adds features like conditional logic, payment capabilities, and survey tools, allowing you to create any form your business may need.
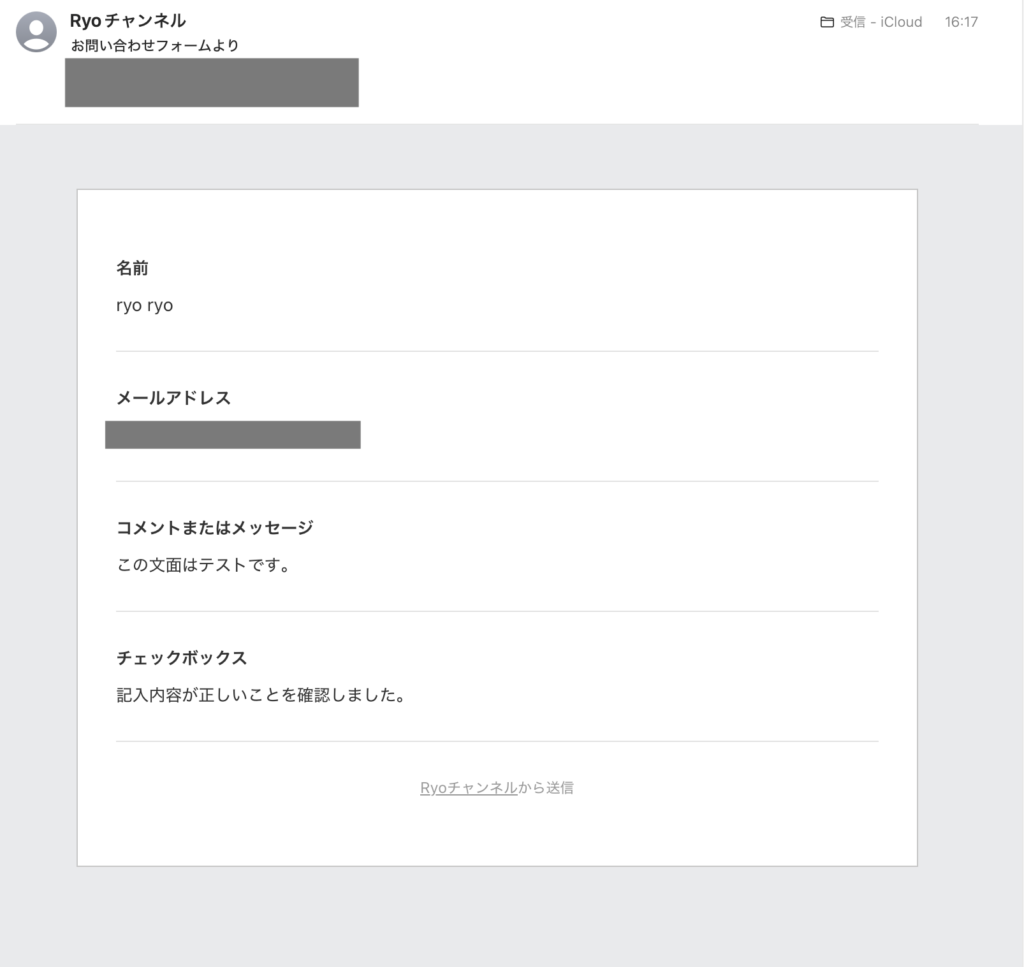
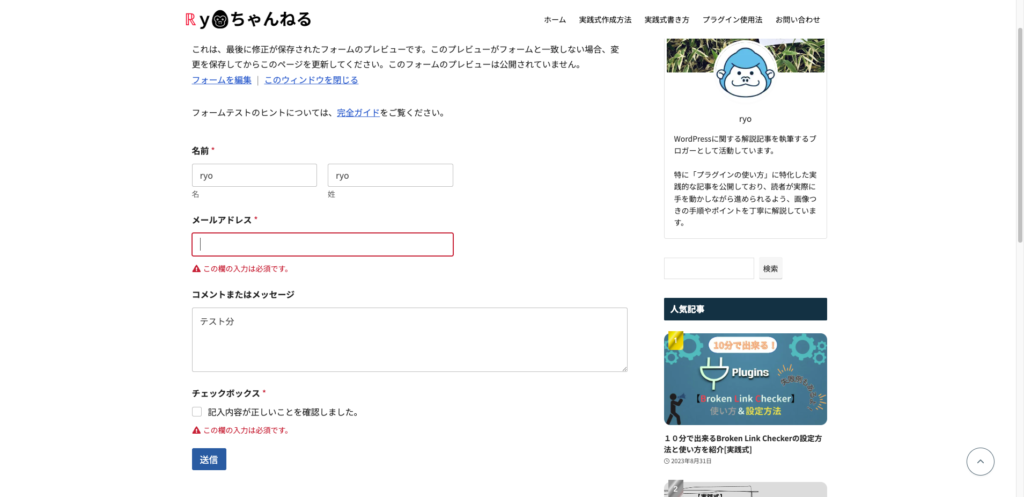
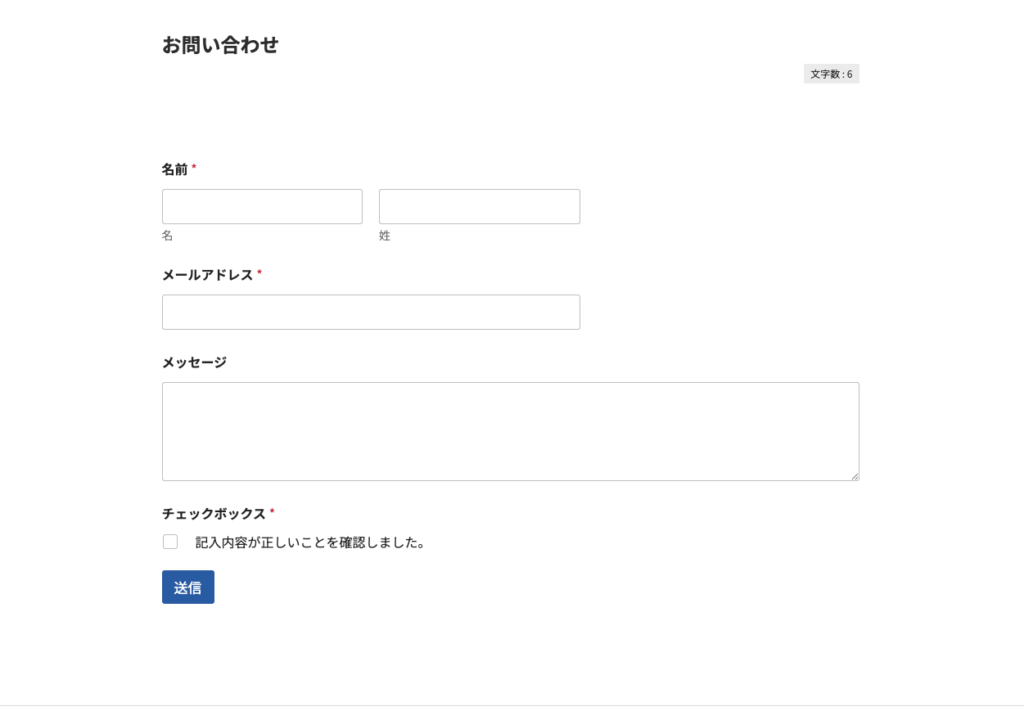
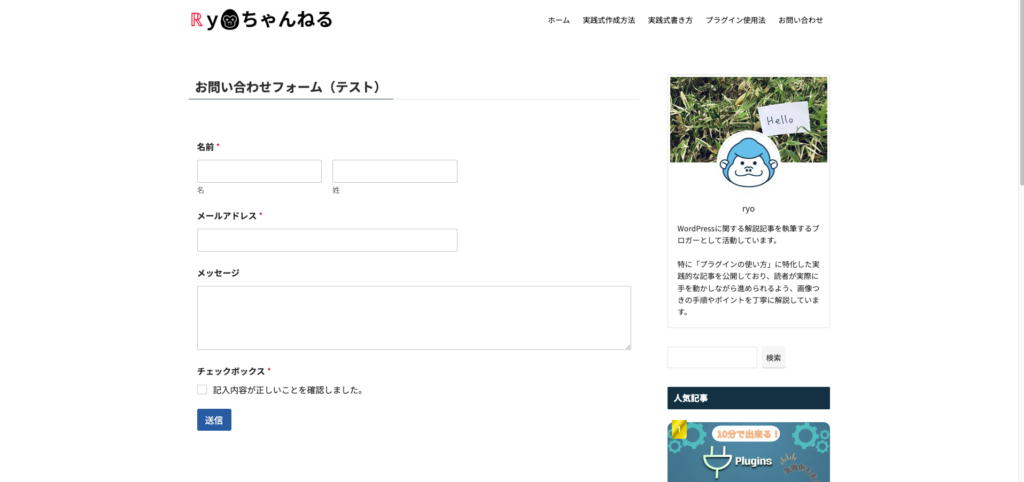
Completed Contact Page Using WPForms
After creating the contact page with WPForms, it turned out like the one below.
Note: I am using the free version.
 ryo
ryoI’m relieved that there are no issues with the page layout!
I also checked if the emails are being received, and everything is working fine without any issues.⇩
 助手君
助手君Now there’s no problem even if there are inquiries!
Key Features of WPForms
You can create forms with intuitive操作, so no technical knowledge is required.
There are many ready-to-use templates available, including contact forms, registration forms, survey forms, and more.
The forms you create are responsive and designed to be easily viewed on smartphones and tablets.
Features like Google reCAPTCHA and Honeypot are included to reduce the risk of spam and unwanted emails.
When a submission is made through the contact form, a notification is sent to the specified email address.
You can add a file upload field to the contact form.
This allows you to create forms that accept file submissions, such as resumes or image files.
By utilizing these features, you can easily and efficiently create all types of forms needed for your WordPress site.
Setting up a contact form creates a gateway for communication with users, contributing to the growth of your business.
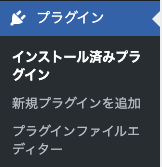
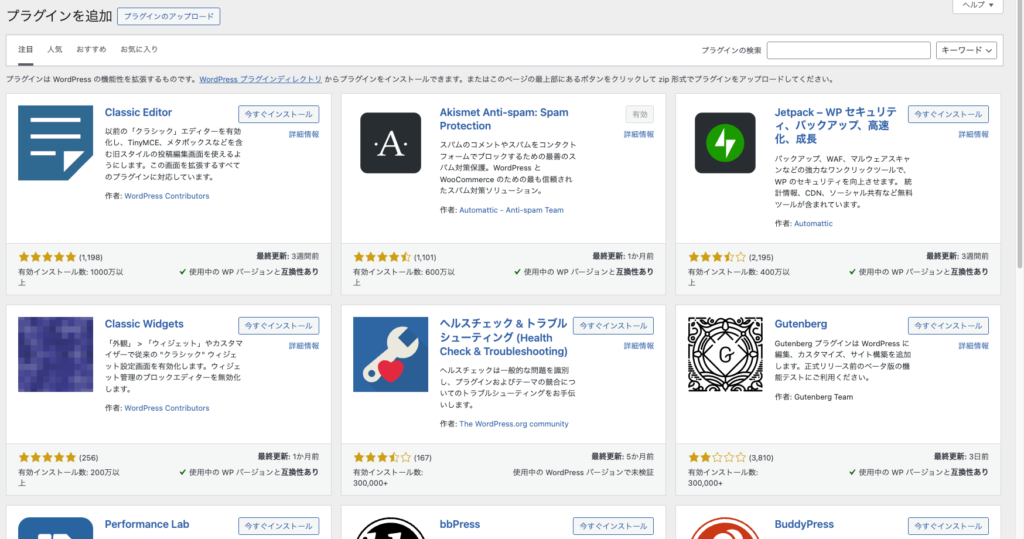
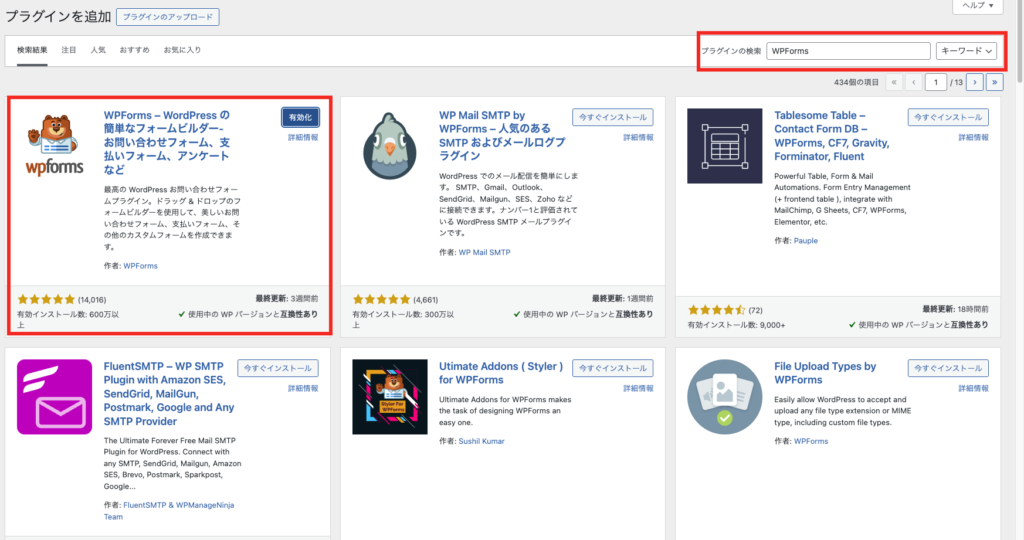
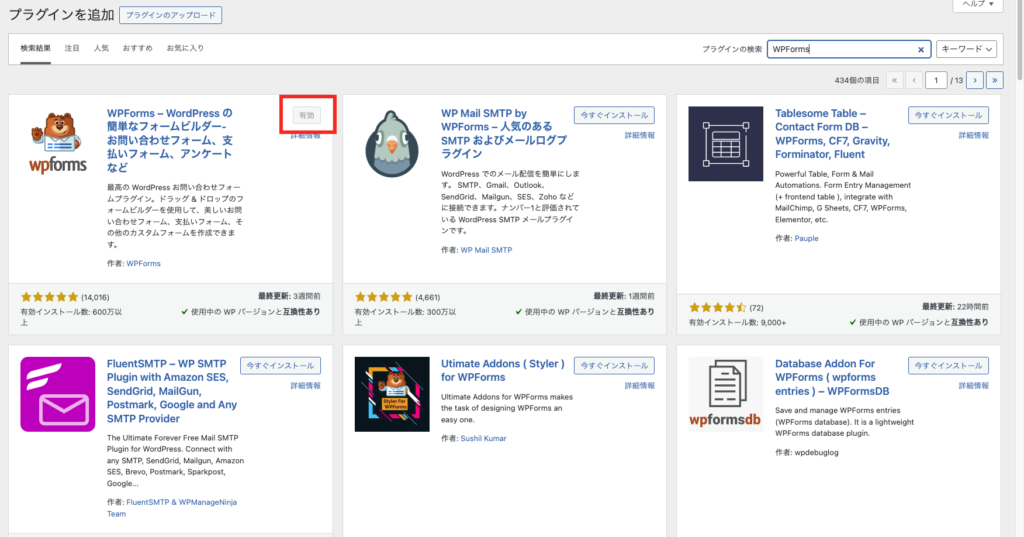
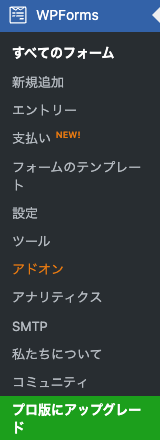
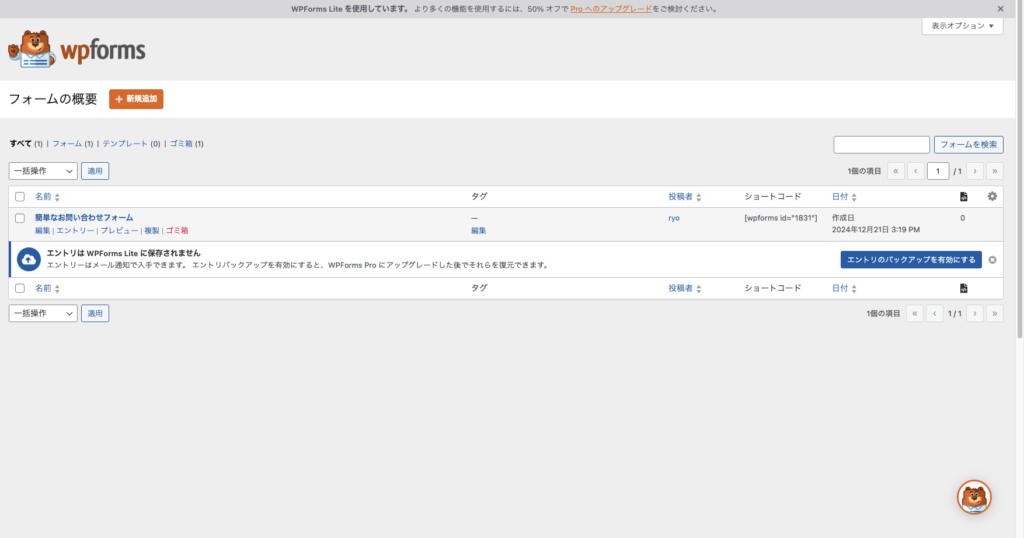
Installing and Activating WPForms

⇩
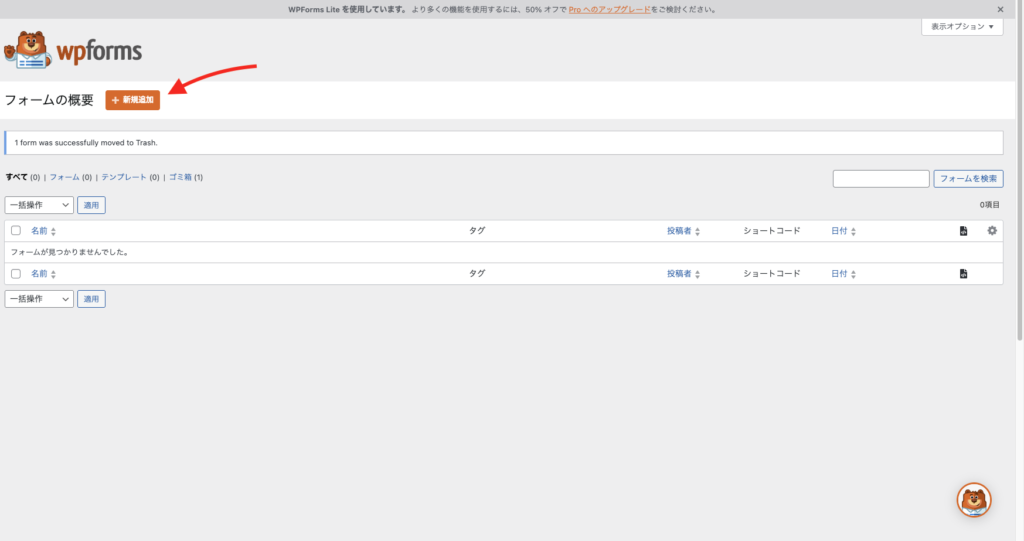
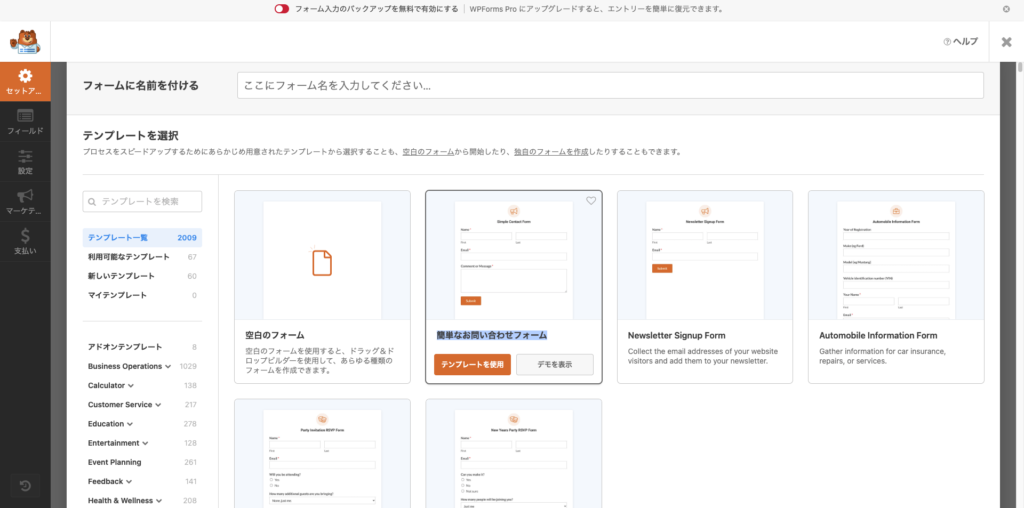
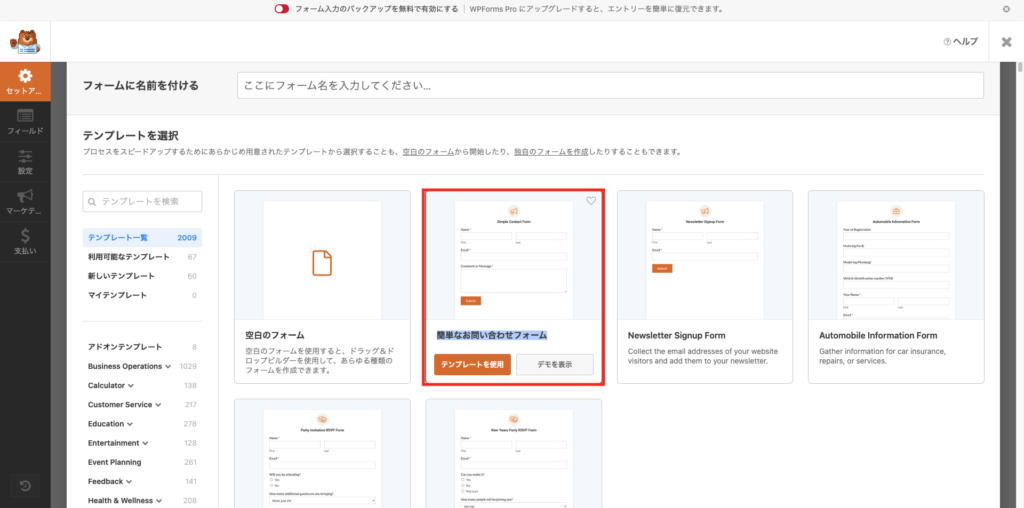
How to Create a Contact Form

Create a New Form

⇩
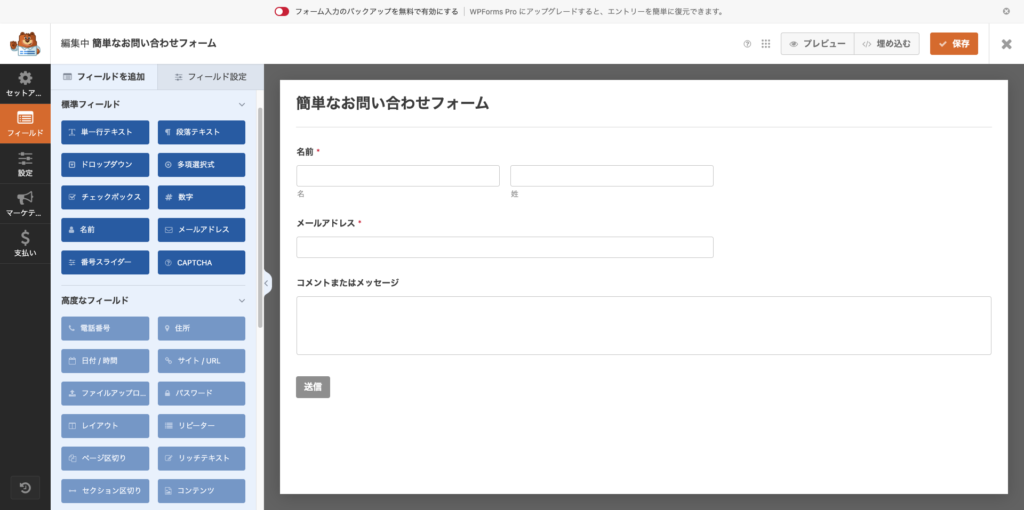
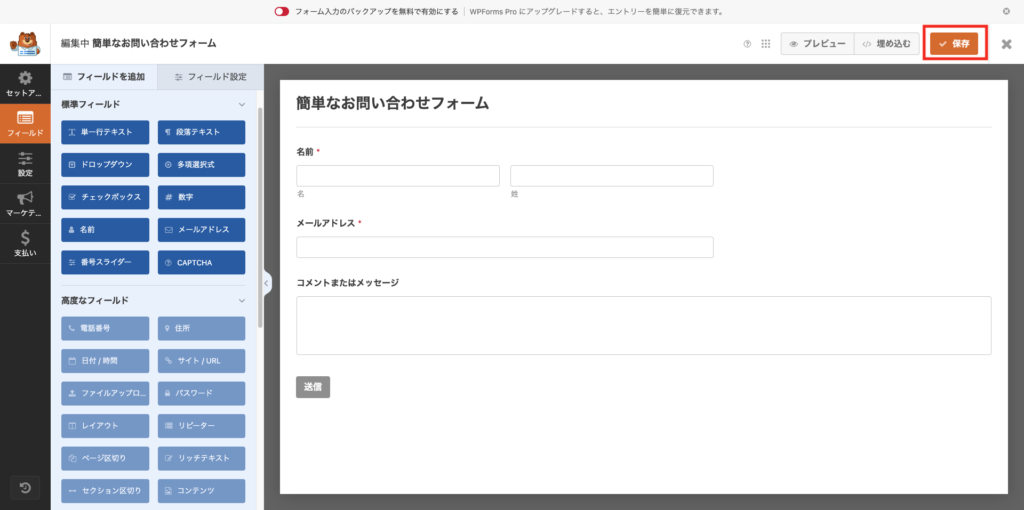
The contact form is now complete with the steps above.
Next, let’s move on to customizing the form!
Practical Form Customization
The contact page I want to add using WPForms includes the following fields
- NameEmail
- Address
- Checkbox
Let’s put it into practice!
⇩

※I added the required feature and changed the options.
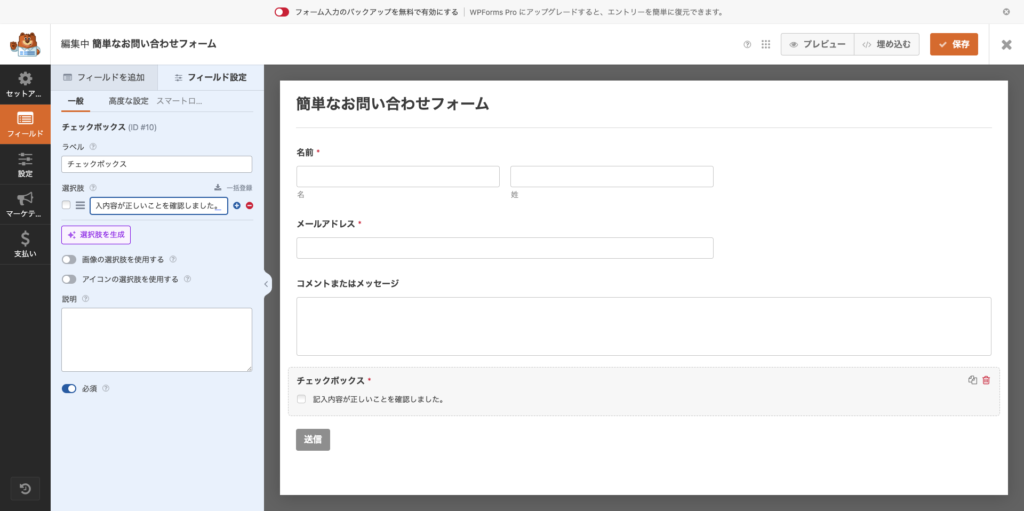
You can change the submit button and form name.
If you set it as required, it will appear like the above if there is no input.
With the steps above, you have successfully created a contact form (temporary).
 助手君
助手君… (temporary)?
ryoJust keep in mind that it won’t function yet with just this.
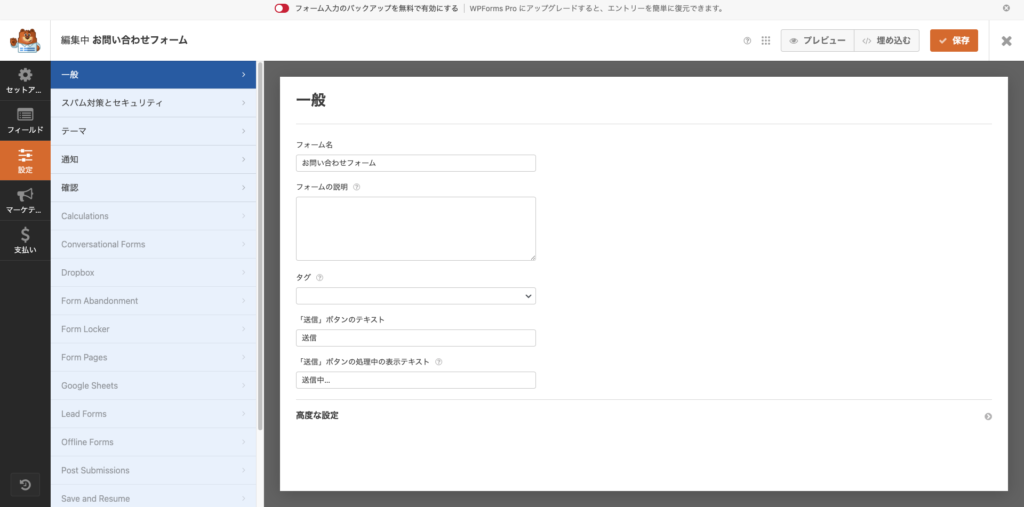
Form Settings
Simply creating a contact form won’t make it functional.
Next, let’s configure the notification settings so that the email functionality works!
- Recipient Email Address
- Email SubjectFrom
- Email Address


① Specify the email address to which the form content will be sent.
② Specify what will be displayed in the email subject.
③ This is the name given to the form, mainly used for internal management or identification in email notifications.
④ The address that will be set as the “From” address in the email sent from the form.
⑤ Specify the address that will be automatically set as the reply-to address when the email recipient replies.
⑥ Specify which information should be included in the body of the email sent.
 助手君
助手君This setting can be surprisingly tricky, so be careful!
ryoIn my case, the main change I made was only to item ①, the recipient email address.
Now the WPForms contact form is complete!
I moved quickly through the steps, so let’s take a break and take a look at the WPForms field settings screen!
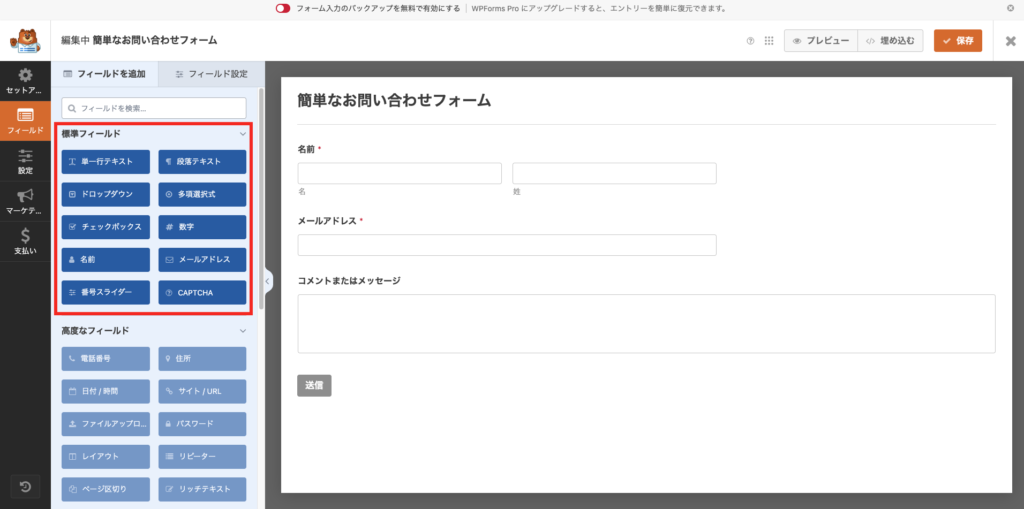
Overview of the WPForms Field Settings Screen
Standard Field List
The various fields are categorized and displayed in a list format as shown below.
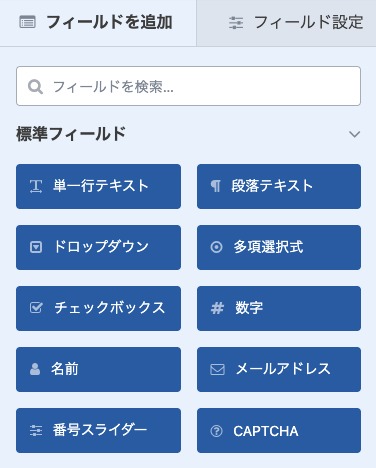
A field to collect simple responses from users, such as names or titles.
Used when a longer response is required, such as for comments or messages.
Provides an option to select only one item from a list.
Allows multiple answers in a checkbox format.
Displays options that can be selected singly or multiple.
A field for numerical input (e.g., quantity or price).
A dedicated field to collect the user’s name.
A field to collect the user’s accurate email address.
A slider format to specify a number (e.g., from 1 to 100).
An authentication feature for spam prevention (e.g., Google reCAPTCHA).
 助手君
助手君In addition to the above, there are features available only in the premium version, including functionalities that can be used for e-commerce sites!
WPForms Field Operation Tips
・Steps to Add Fields
- Click and drag the required items from the “Standard Fields” section on the screen to the form preview area on the right.
- To change the order, drag the fields to move them.
*Note: Clicking on an item will also place it in the form.
ryoYou can do most of it with just mouse operations, making it very easy.
・Field Settings Details
- In the “Field Settings” displayed on the right side, you can customize the field label, description, required field settings, and more.
How to Install a Contact Form

Install on Posts or Pages
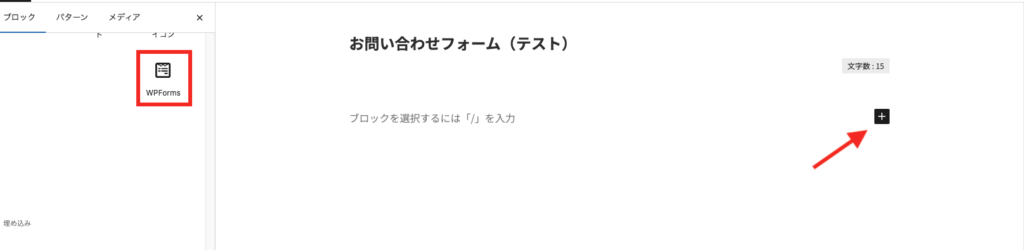
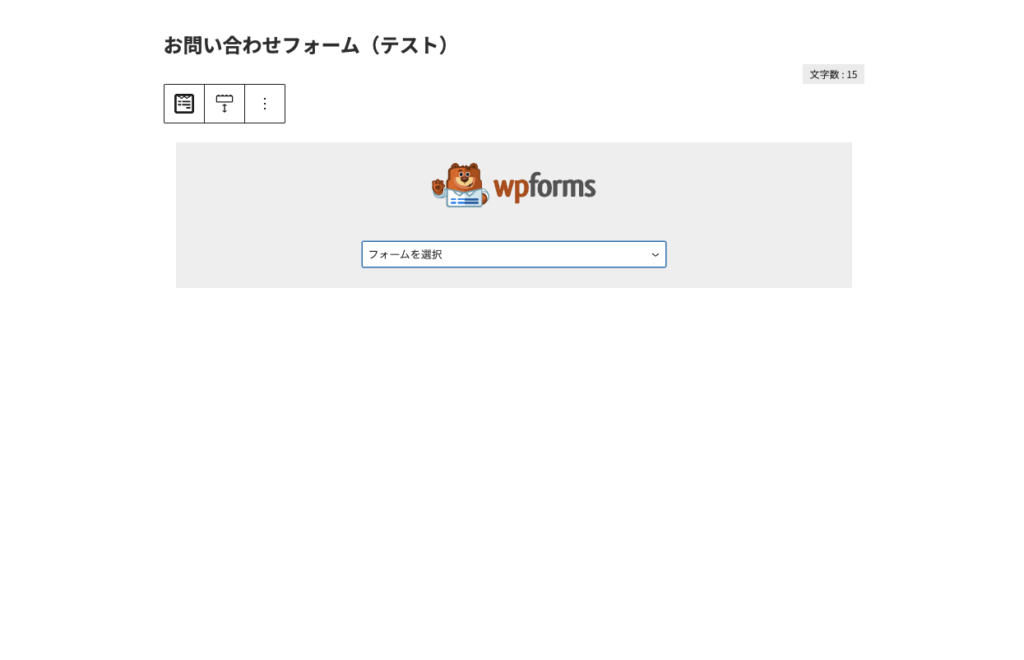
⇩
The contact form creation is complete! Great job!
ryoIt’s a good idea to test it before implementing it on your website.
Advantages and Disadvantages of WPForms

Advantages
The drag-and-drop form builder allows anyone to easily create forms.
Templates for contact forms, reservation forms, application forms, and more are readily available.
With built-in spam protection features like Google reCAPTCHA, you can effectively prevent spam emails.
The created forms are responsive, ensuring they display beautifully on smartphones and tablets.
 助手君
助手君I didn’t expect it to be so easy to create a contact form!
Disadvantages
The free version has limited features, and to access professional features, a paid version is required.
Without knowledge of CSS or HTML, it can be difficult to make detailed customizations to the design.
Features like conditional logic and advanced autoresponder functions are only available in the paid plan.
If many forms are submitted, there may be an increased load on the server.
ryoFrom my actual experience, the disadvantages are not something to worry about too much.
Common WPForms Questions and Solutions

Summary: Let’s easily create a contact page with WPForms!

WPForms is a convenient plugin that allows beginners to easily create contact forms. By simply adding fields through drag-and-drop, you can quickly build a form.
You’ll be more than satisfied with the free version!
Refer to the steps in this guide and try adding a contact form to your own website.
助手君For the premium version of WPForms, it’s recommended to try the free version first and then consider upgrading.
If you have any questions, feel free to reach out via the contact form! I hope I could be of help!